We Made a Card Box. Yay us!

This was a ton of fun. (A HUGE thanks to Liz for being the model in all the pictures and for helping make this)
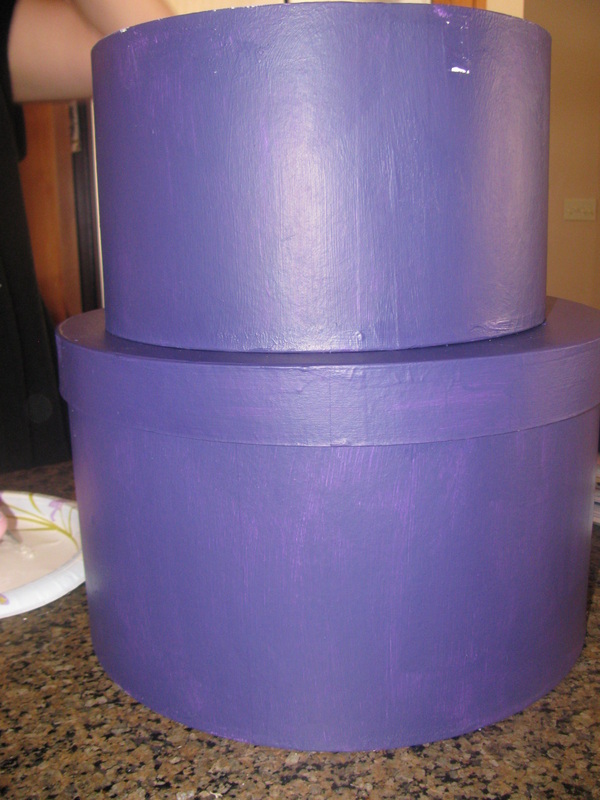
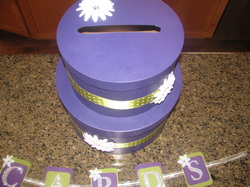
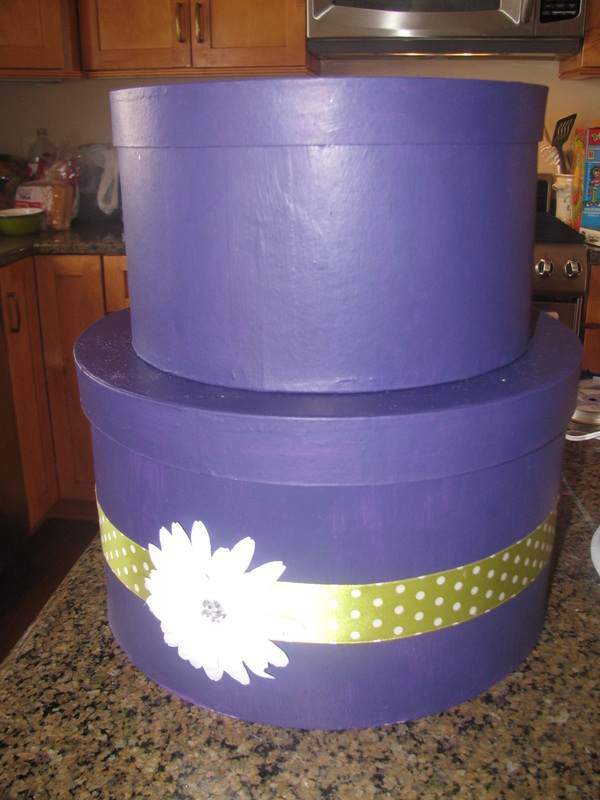
Here is the finished product.
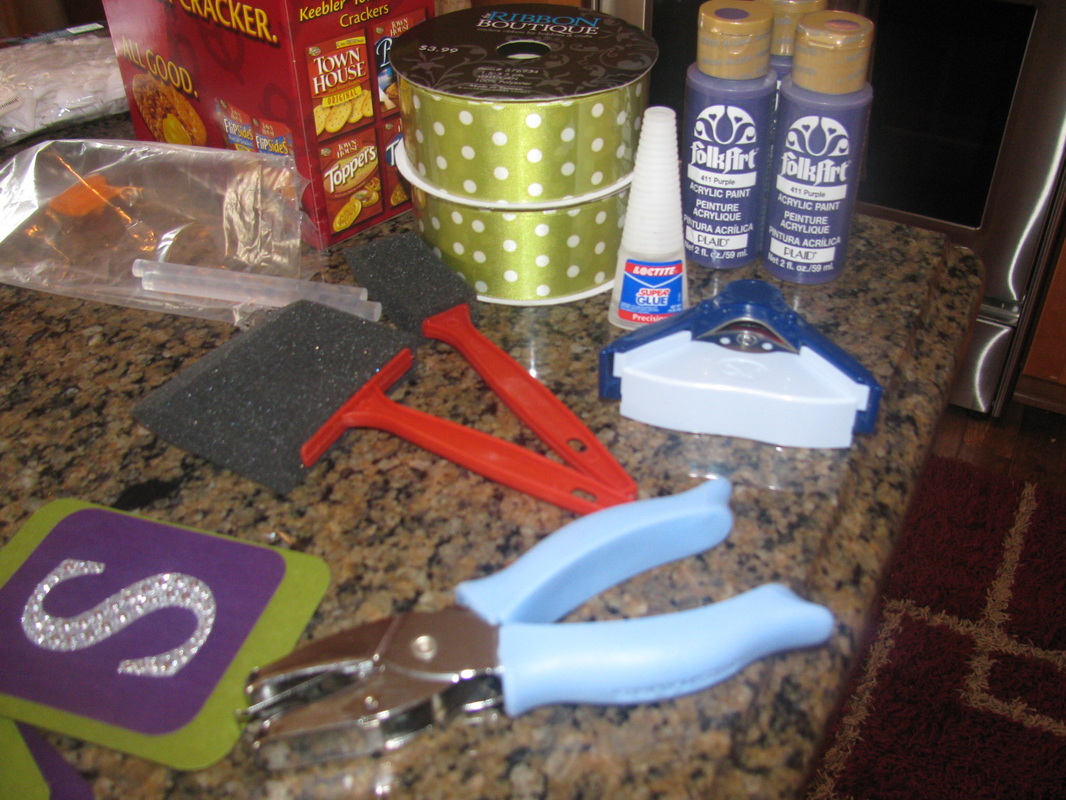
You will need (for the box):
1 - 16" brown round box & 1 - 12" or 14" brown round box
1 - can Krylon spray paint primer (white)
1 - spool ribbon (we bought 5 yards and had tons left over)
xacto knife or utility knife
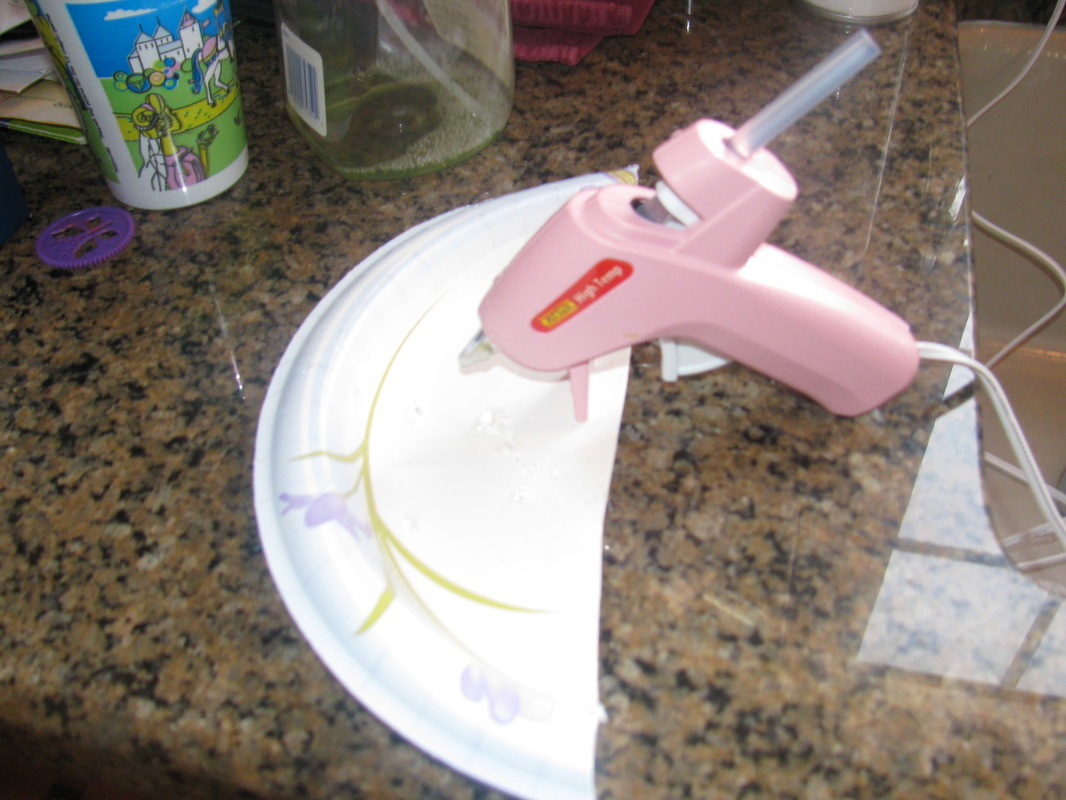
hot glue gun
newspaper to cover the table
3 small bottles of your favorite craft paint and paint brushes (I used foam)
Here is the finished product.
You will need (for the box):
1 - 16" brown round box & 1 - 12" or 14" brown round box
1 - can Krylon spray paint primer (white)
1 - spool ribbon (we bought 5 yards and had tons left over)
xacto knife or utility knife
hot glue gun
newspaper to cover the table
3 small bottles of your favorite craft paint and paint brushes (I used foam)
First, get one of your girlfriends and a bottle of wine.... Then start spraying!
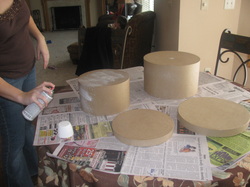
First lay down some newspaper to protect your table. The spray comes out a little goopy, so we just used a paint brush to smooth it out. (see below for boxes with 2 coats) This stuff dries really fast, so don't worry about drying time.
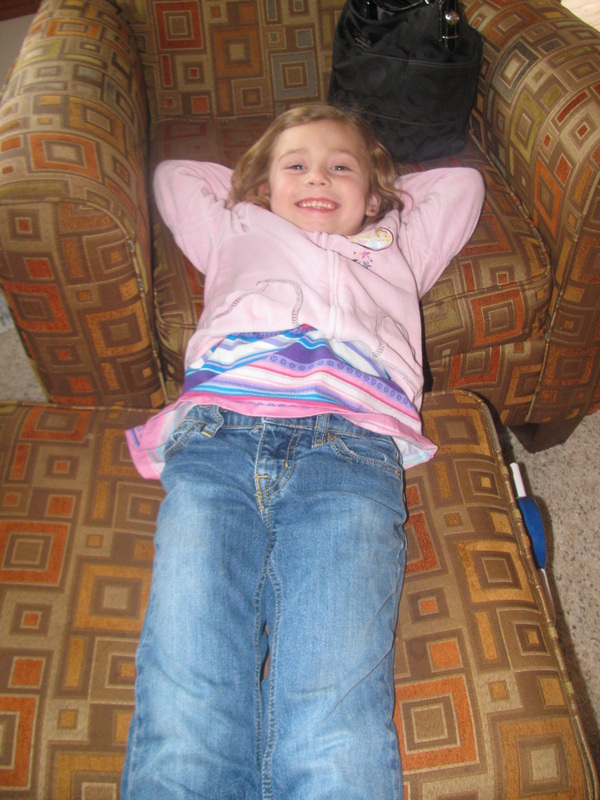
Grab two adorable kids - they help make the process fun. :-) And messy.
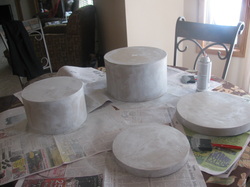
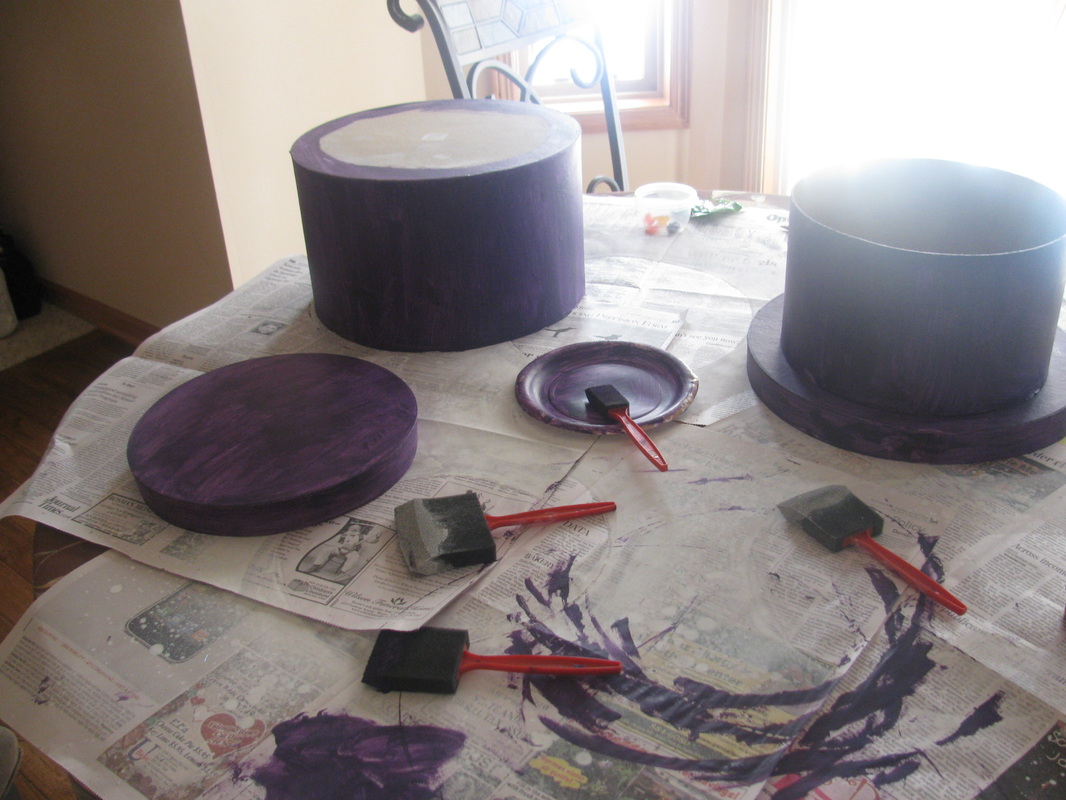
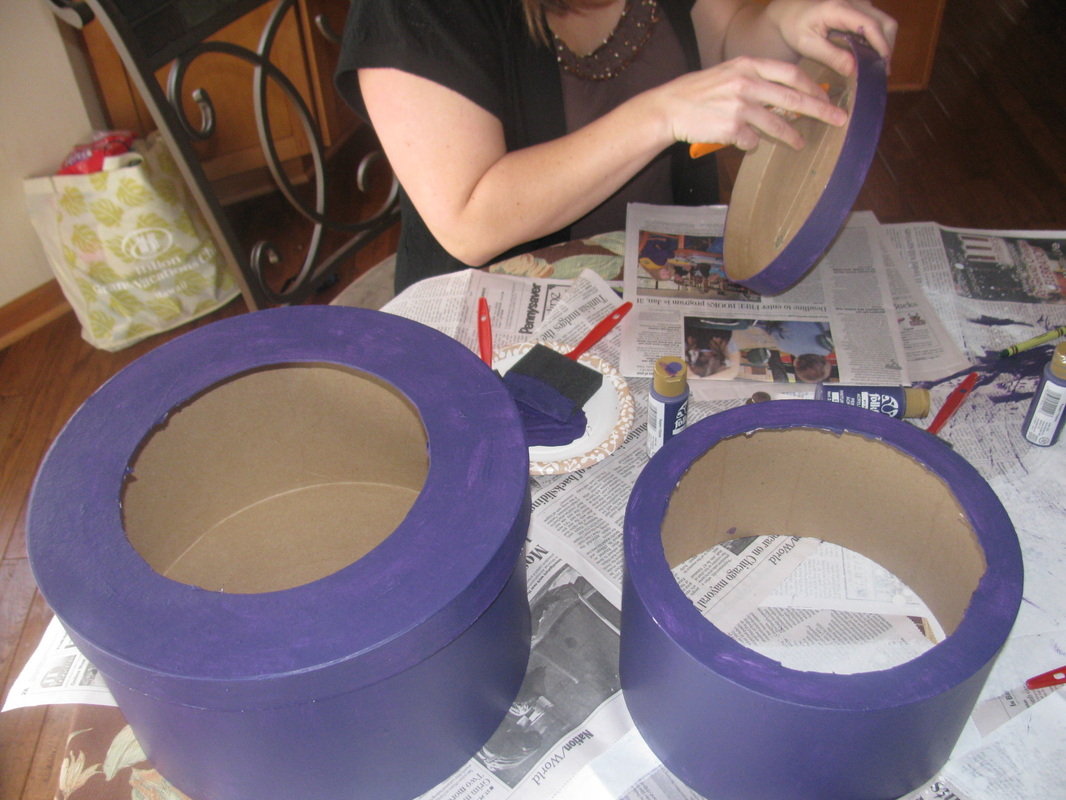
Paint Away!
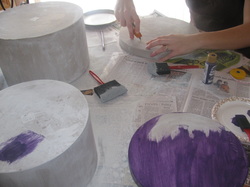
Paint the paper mache boxes using your paint and sponge brush. Two coats are best. Allow for ample drying time in between coats. (Really, they dry
Start cutting...
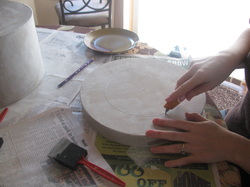
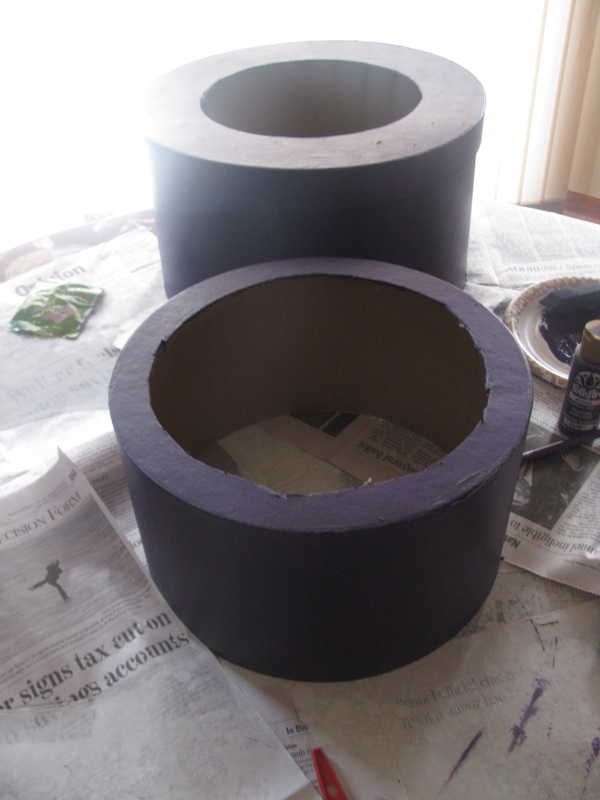
After the paint has dried begin cutting out the tops and bottoms of the boxes.
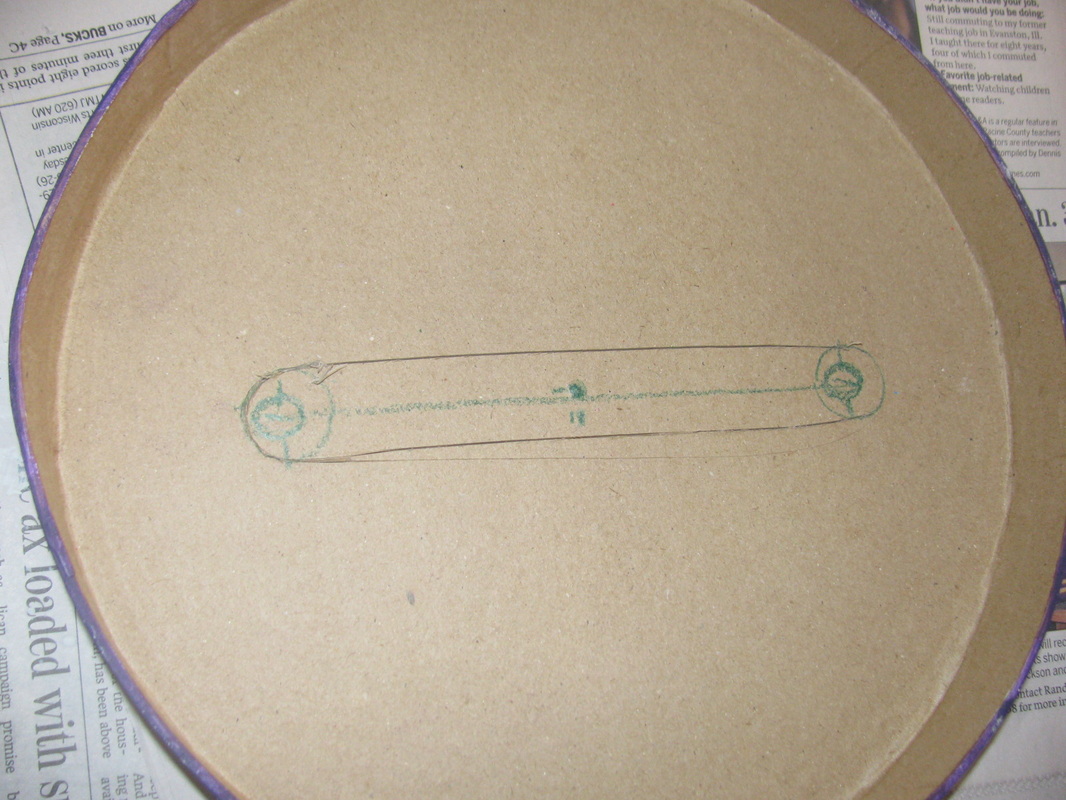
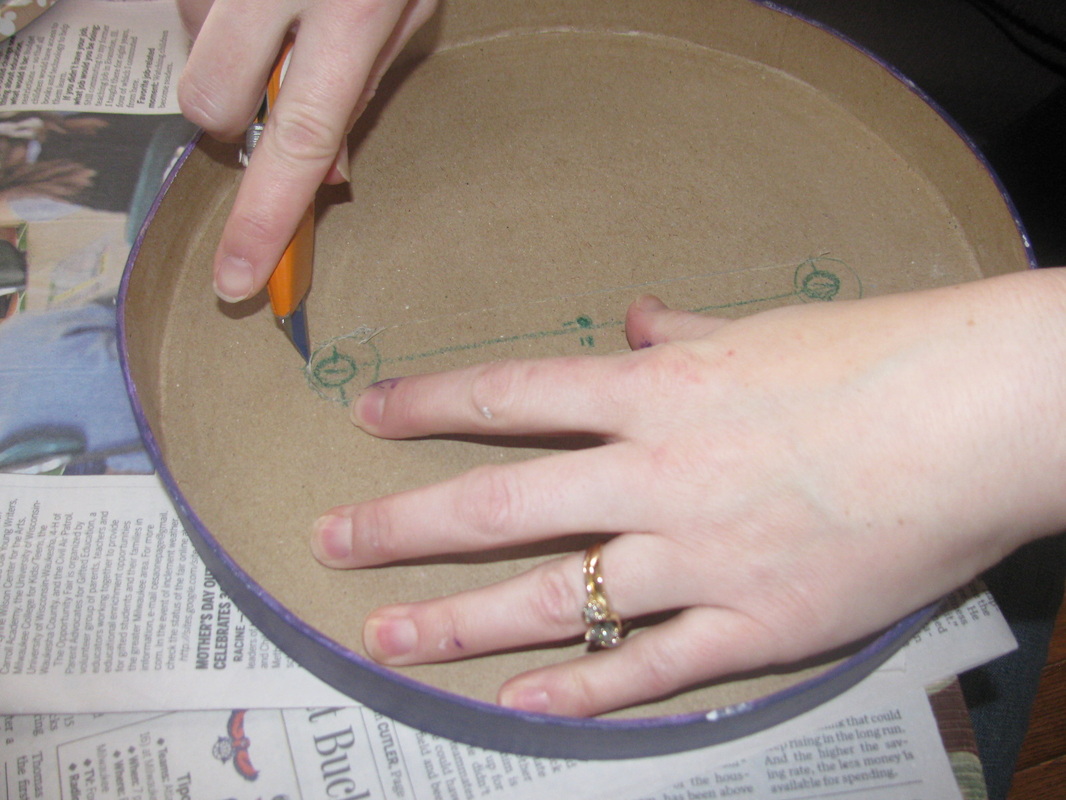
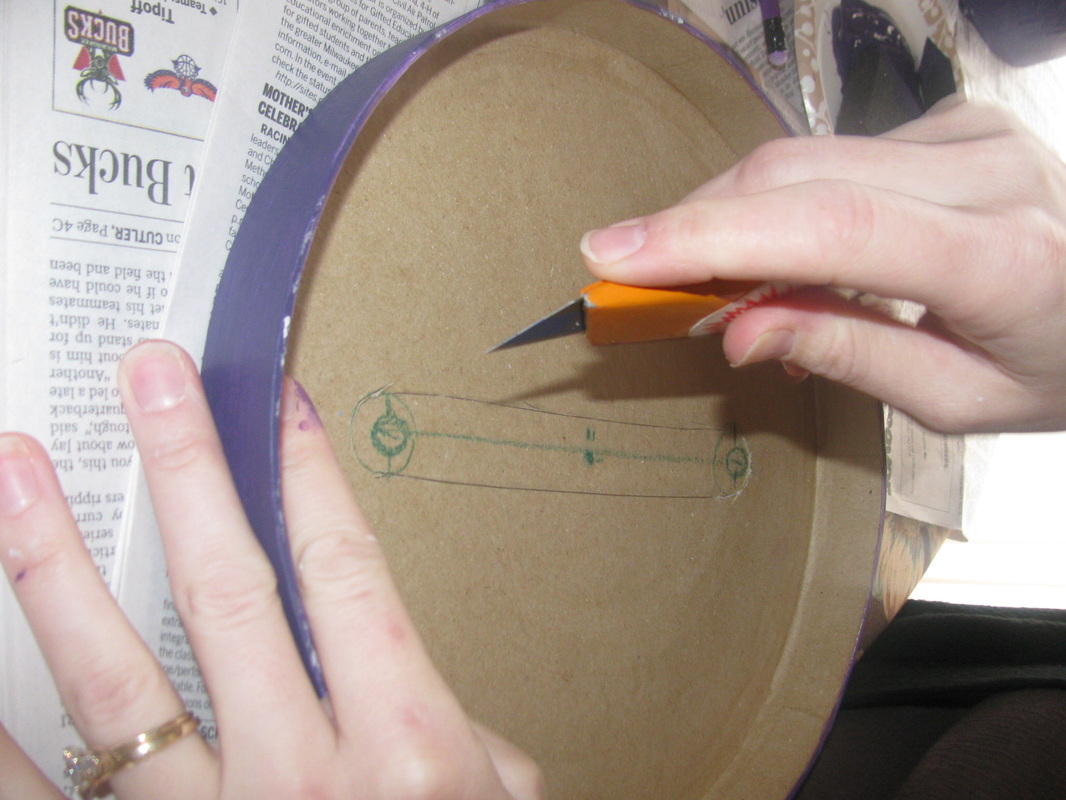
Begin with the middle box. With a pencil, draw a square 1 inch inside the edge of the bottom of the box. With the Xacto knife, cut along the pencil line. We used a dime on the ends so that they were nice and rounded.
Use the medium box as a guide-- place it how you want it on top of the large box lid. With the pencil, trace along the cut-out edge. With the Xacto knife, cut along the pencil line.
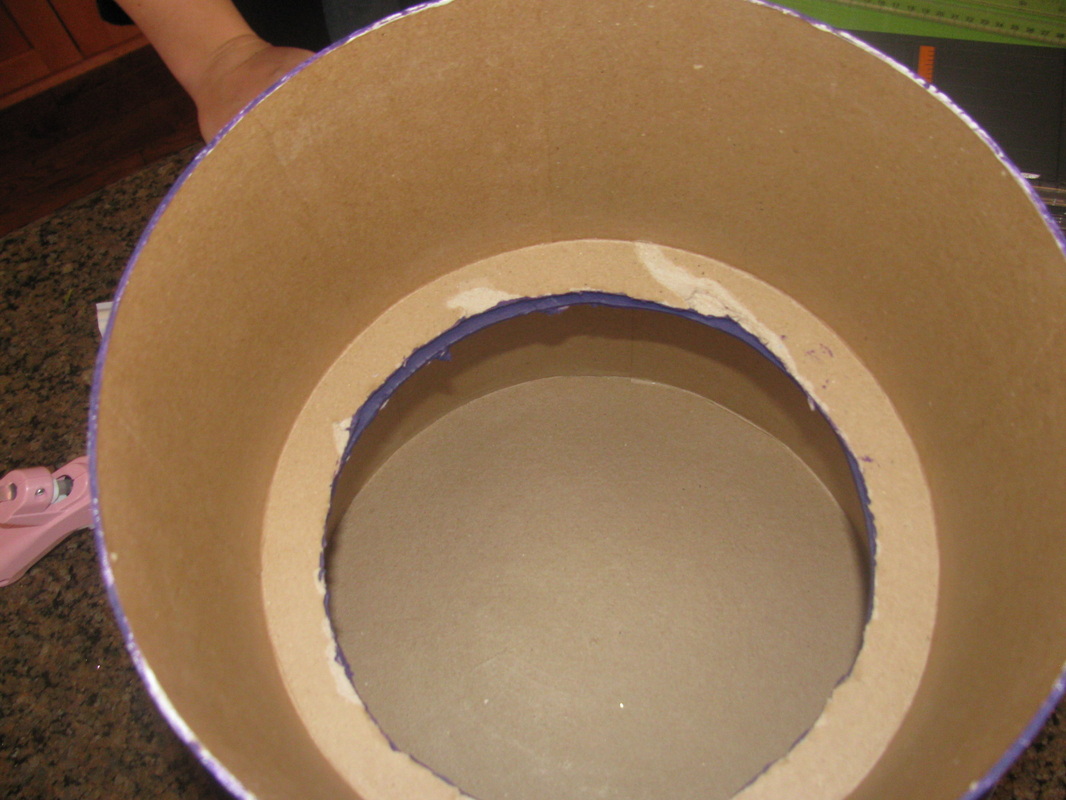
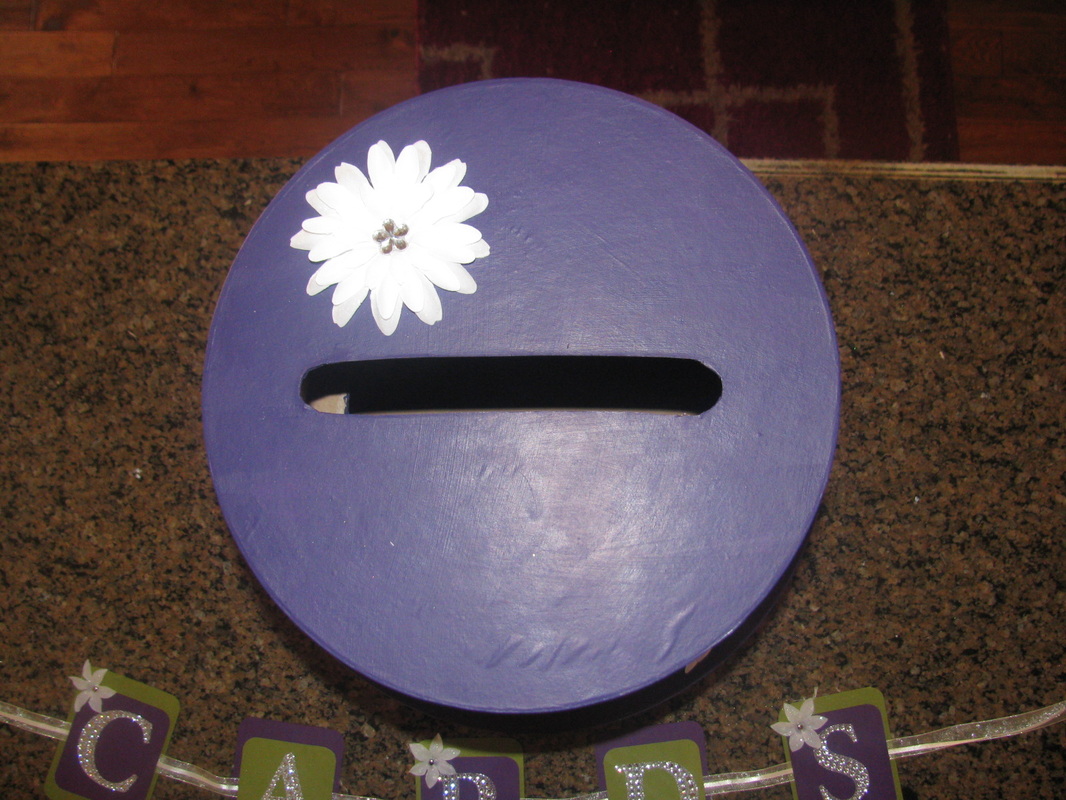
Moving on to small box. With the pencil, draw a circle 1 inch inside the edge of bottom of the box. With the Xacto knife, cut along the pencil line.
Use the small box as a guide-- place it how you want it on top of the medium box lid. With the pencil, trace along the cut-out edge. With the Xacto knife, cut along the pencil line.
Begin with the middle box. With a pencil, draw a square 1 inch inside the edge of the bottom of the box. With the Xacto knife, cut along the pencil line. We used a dime on the ends so that they were nice and rounded.
Use the medium box as a guide-- place it how you want it on top of the large box lid. With the pencil, trace along the cut-out edge. With the Xacto knife, cut along the pencil line.
Moving on to small box. With the pencil, draw a circle 1 inch inside the edge of bottom of the box. With the Xacto knife, cut along the pencil line.
Use the small box as a guide-- place it how you want it on top of the medium box lid. With the pencil, trace along the cut-out edge. With the Xacto knife, cut along the pencil line.
Making it purdy...
Decorate the boxes as you wish. If decorating with ribbon, use double-sided to secure the ribbon to the boxes. Or hot glue.
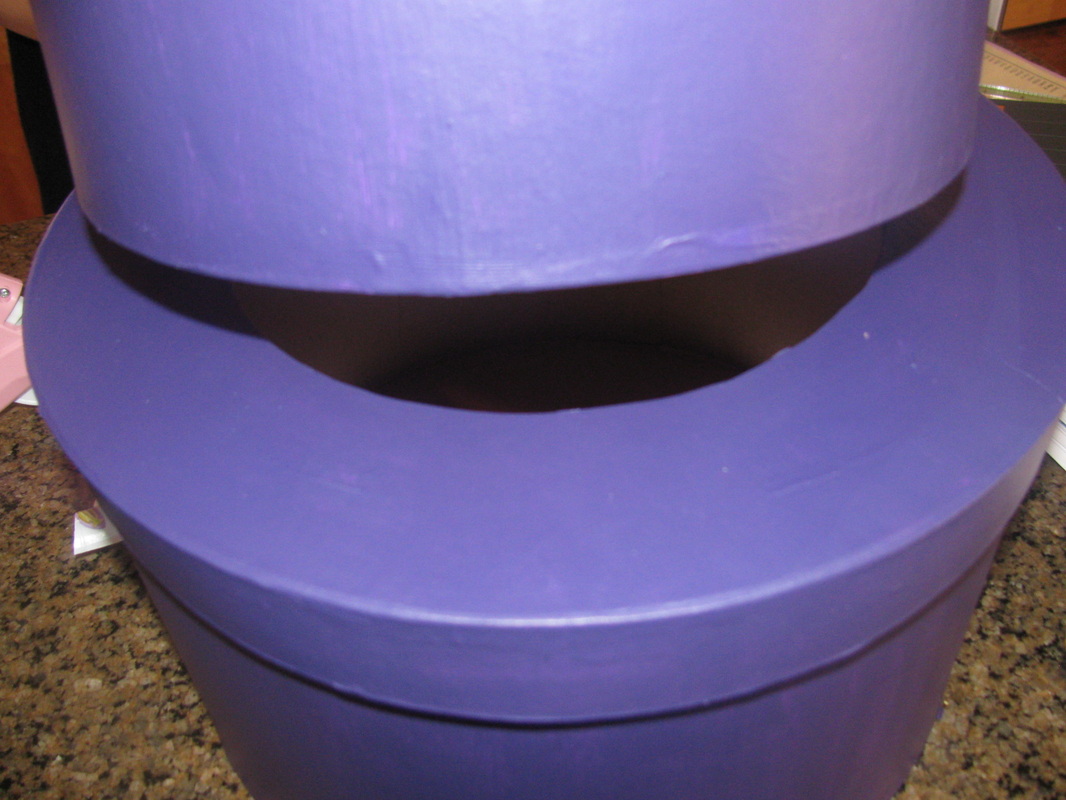
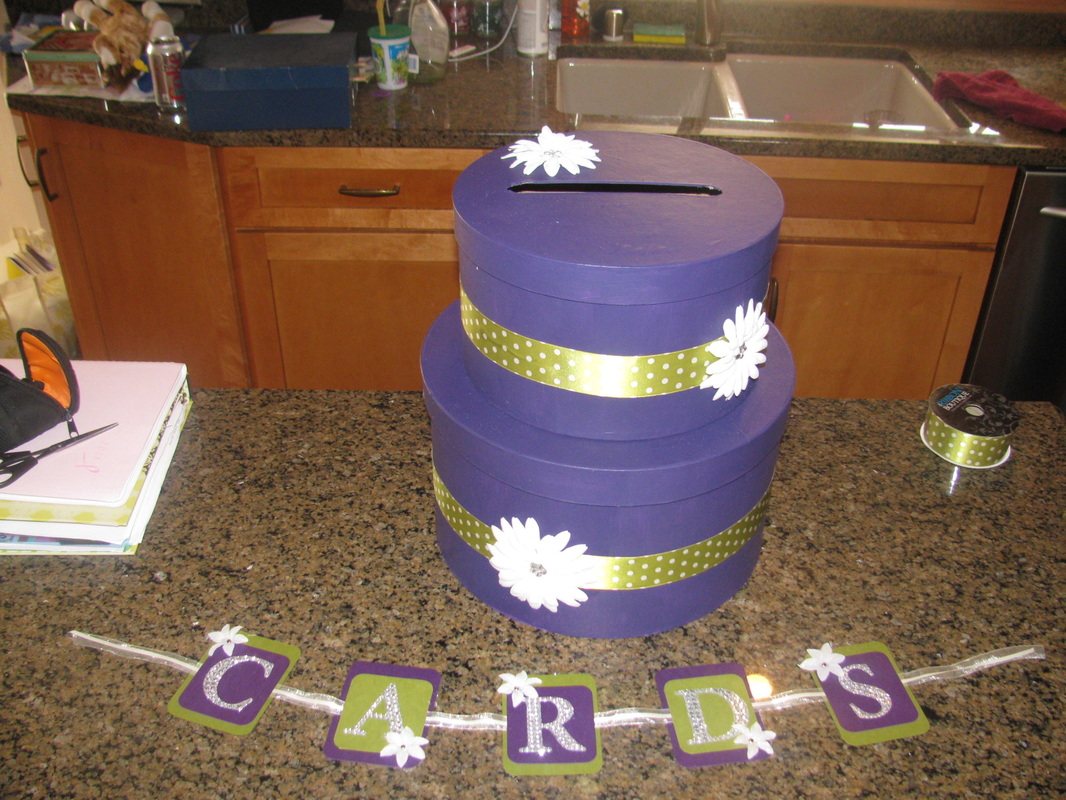
When finished decorating the boxes, secure the boxes to each other by applying a thin bead of hot glue from the glue gun to the inside edge of the bottom of each box.
If decorating with silk flowers, attach with glue gun and glue.
When finished decorating the boxes, secure the boxes to each other by applying a thin bead of hot glue from the glue gun to the inside edge of the bottom of each box.
If decorating with silk flowers, attach with glue gun and glue.
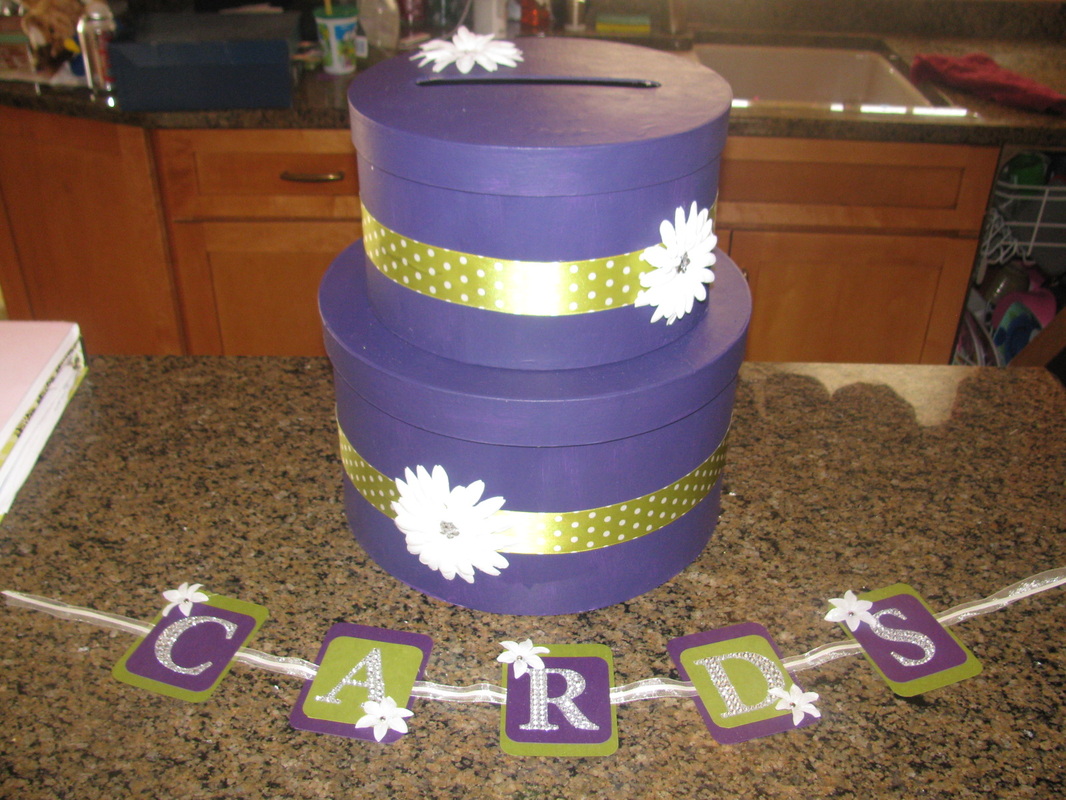
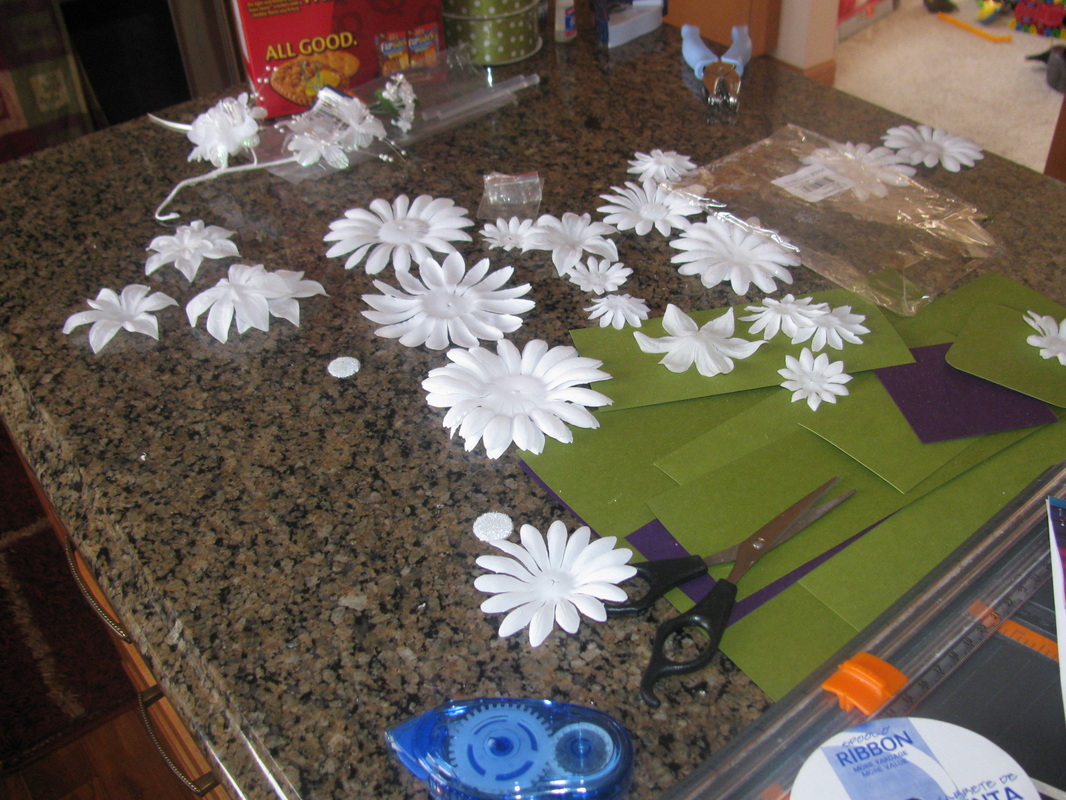
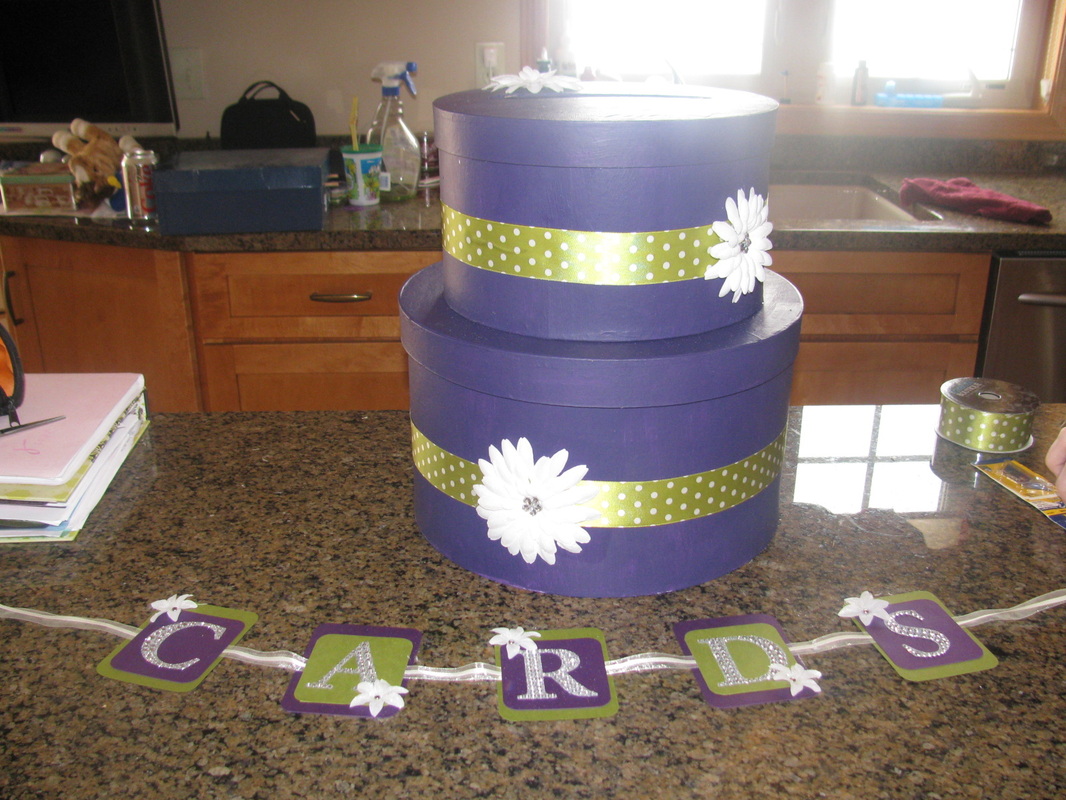


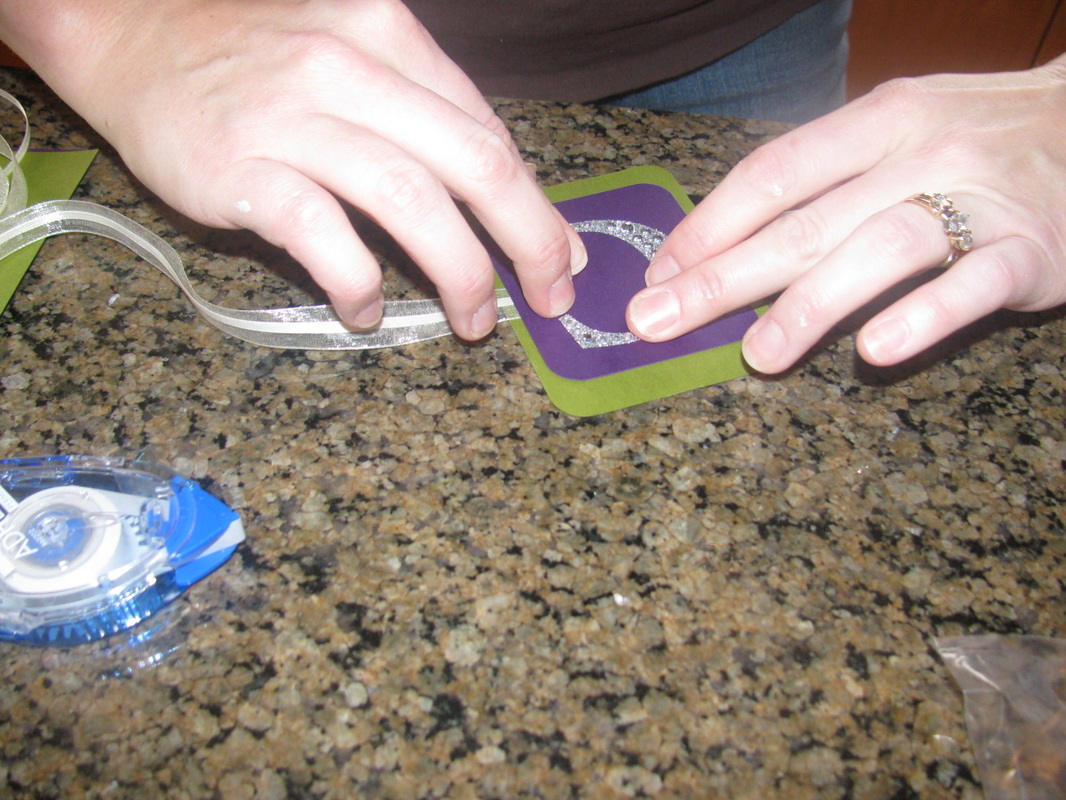
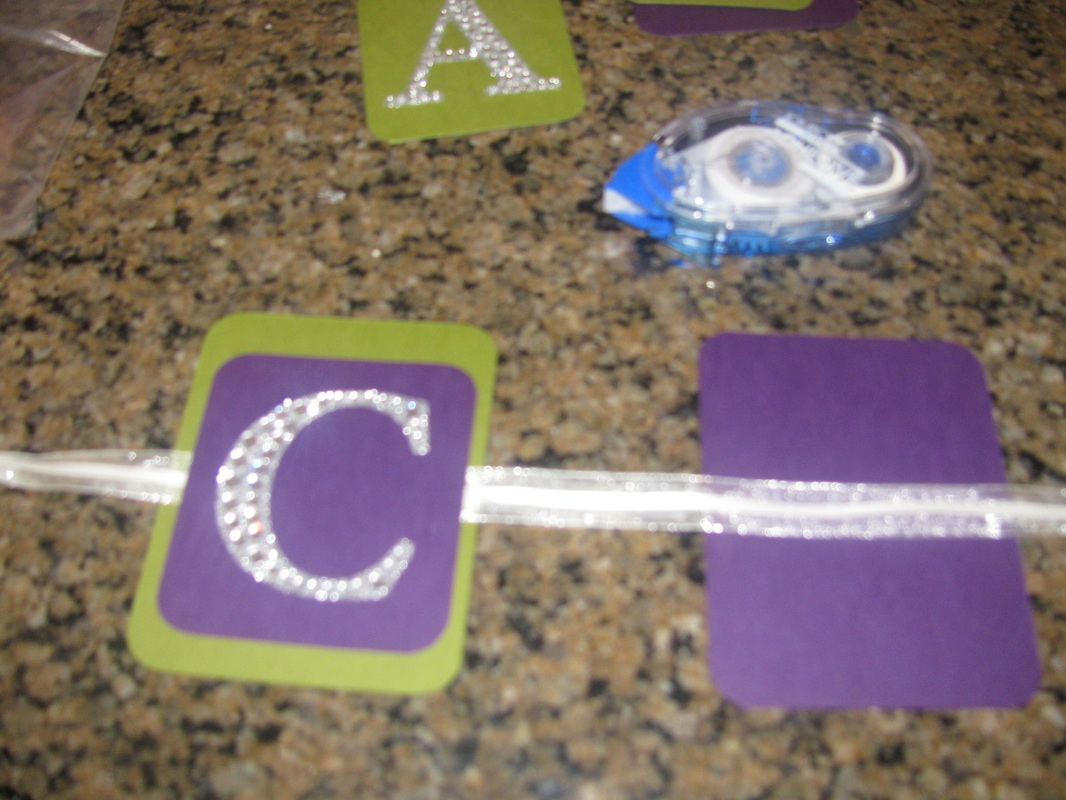
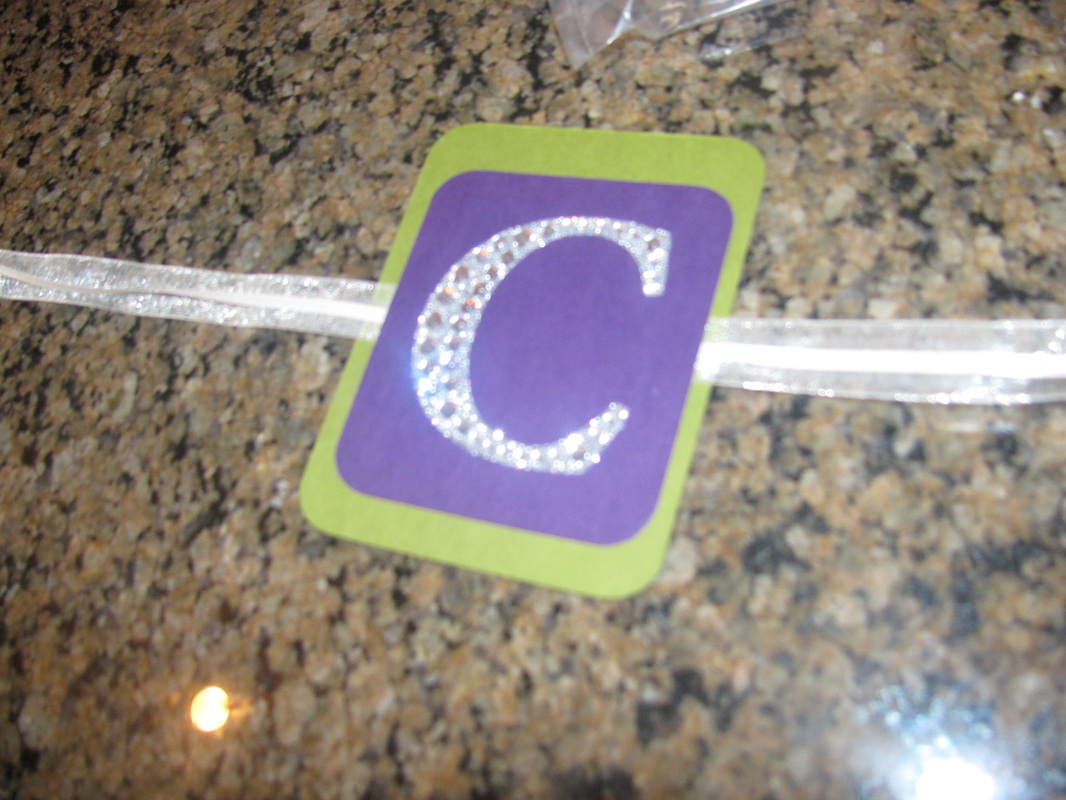
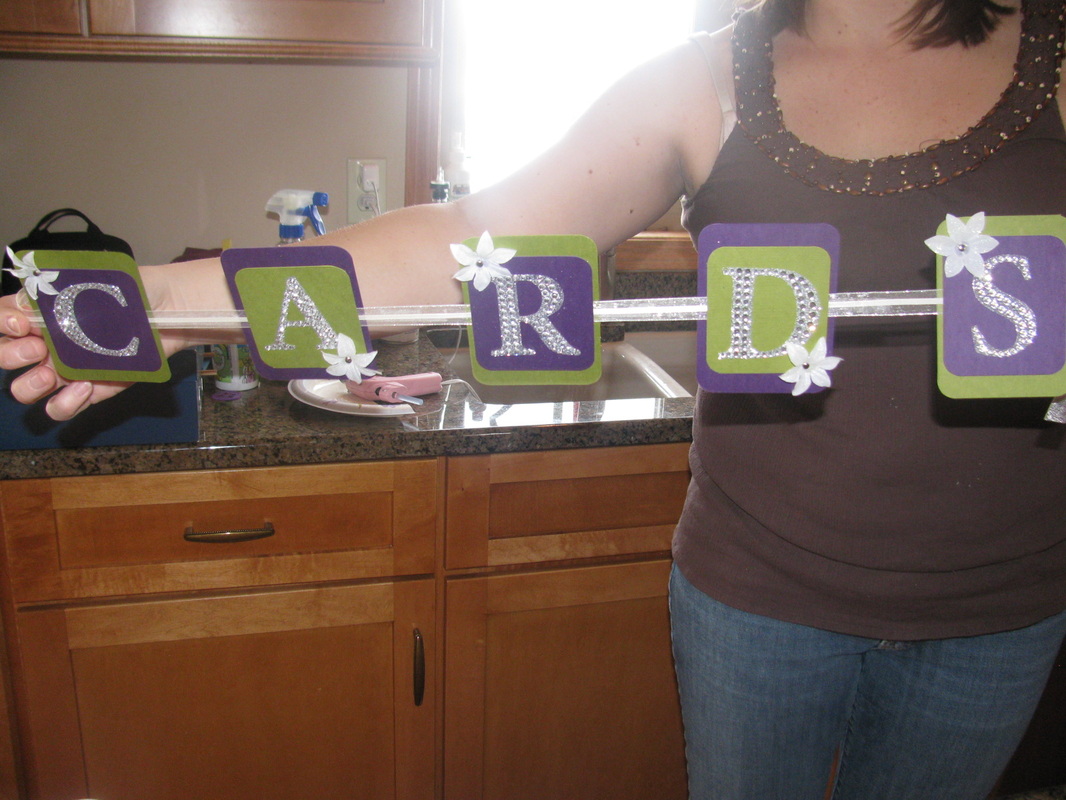
Making the "CARDS" sign
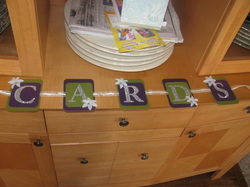
We used two types of ribbon for this, also two different sizes. I bought the card stock, flowers and blingy letters from Hobby Lobby. Put the larger ribbon down and place the larger card squares behind it, place the smaller ribbon in the middle of the larger ribbon (See below, photo #2). Capture the ribbon by placing the smaller card squares on top of the ribbbon. Secure using either hot glue or mono adhesive tape.